Stranger Things Logo – Photoshop Tutorials
PauloGabriel
Aug 04, 2016
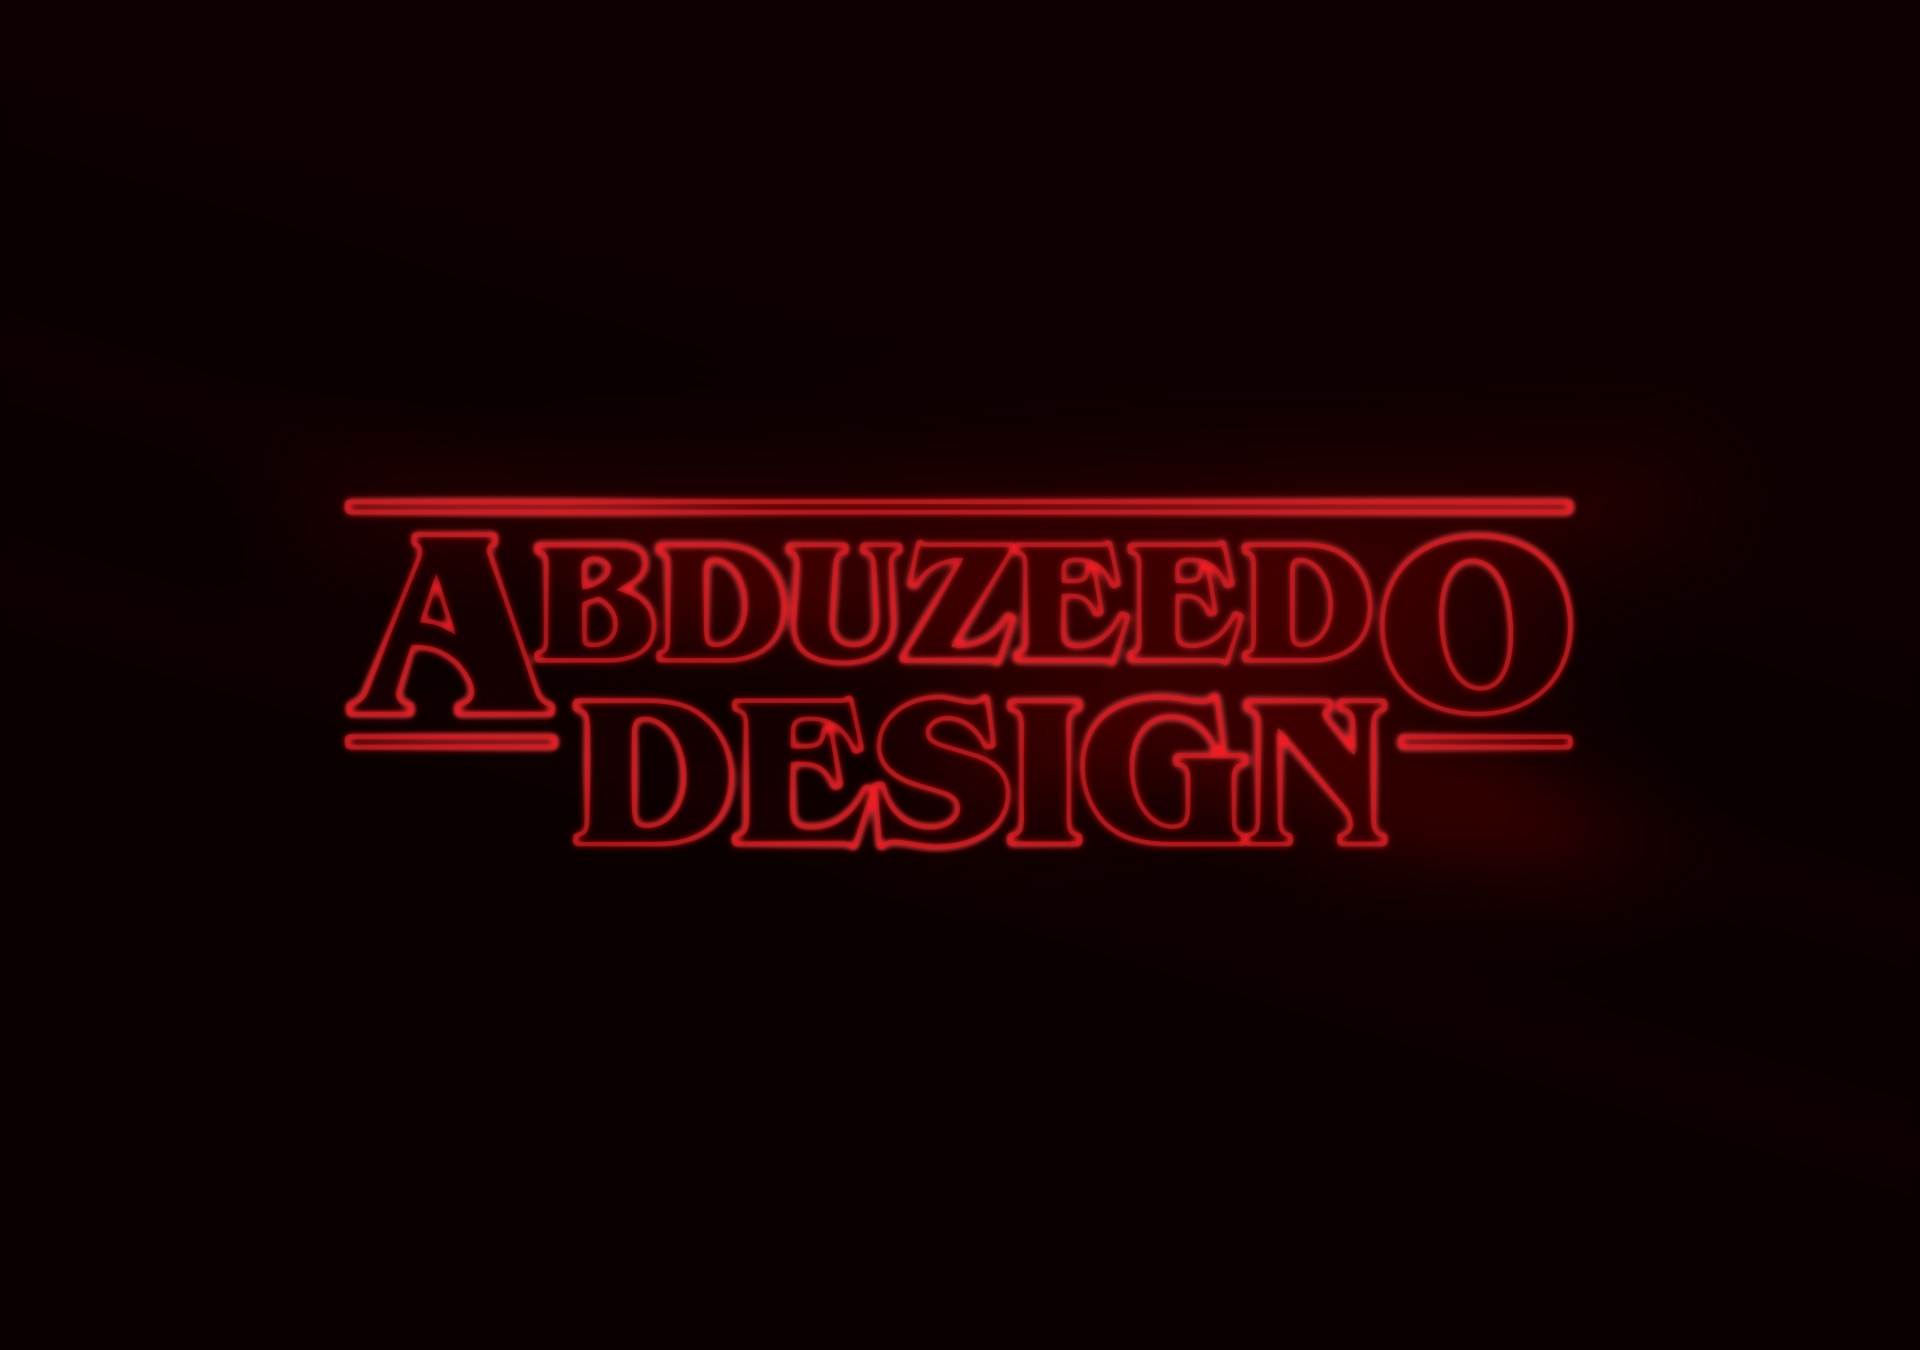
80’s revival is stronger than ever. With Netflix’s Stranger Things we’re seeing people going crazy about 80’s culture which is shown in the show thru its style and easter eggs. One of the things that set ambience for the show is its logo. I thought it would be cool trying to mimic its style in Photoshop, so let’s try it out.
Step 1
Open Photoshop and create a new document. I am using 1920×900 pixels. After that fill the layer with a gradient #000000 and #303030 for colors and tilt it for better effect.

Step 2
Go to filter > blur > gaussian blur and fill with 100 for radius.

Step 3
Add a new layer above it and fill it with #d91f26. Set is blend mode to Multiply.


Step 4
Time to add some text. I’m using the original logo font, called Benguiat. The weight is bold. You can buy it at MyFonts, or feel free to use a bold, serif font of your choice. Adjust the text so that it has 2 lines, the top one being wider than the bottom one. Turn all text black (#000000).

Step 5
Group the text. In its blending options add a stroke of 10px, #d91f26 for color.

Step 6
Inside the group add 3 black, rounded rectangles, a wide one at the top and 2 smaller ones at the sides. Duplicate this group and turn the copy invisible, because we’ll save it for later.

Step 7
Add a new layer below the visible group and fill it with #000000.

Step 8
Merge the group with this new black layer.

Step 9
Set the blending mode to Color Dodge.

Step 10
Duplicate this layer, and set the blending mode of the copy to Overlay.

Step 11
Turn visible the copied group from ealier. Make its stroke thinner, from 10px to 8px. Add a new layer above this group.

Step 12
Merge the new layer with this group. Go to filter > blur > gaussian blur. Set it to 1px and apply.

Step 13
For its blending mode, set it to Color Dogde, and Opacity 50%.

Step 14
Add new layer. Using a round brush add some strokes covering the logo.

Step 15
Add a gaussian blur of 100px to these strokes.

Step 16
Blending mode: Color Dodge, Opacity: 30%.

Step 17
Merge all visible layers. Duplicate it.


Step 18
Add noise to the top layer. Go to filter > noise > add noise. For values use Amount: 5%, Distribution: Gaussian, Monochromatic.

Step 19
Set its blending mode to Overlay, Opacity 70%.

Final Result
I know the final result it’s not a clone of the original style, but it mimics the original pretty well. I hope it inspires you to keep trying to perfect it and even make a perfect clone.

